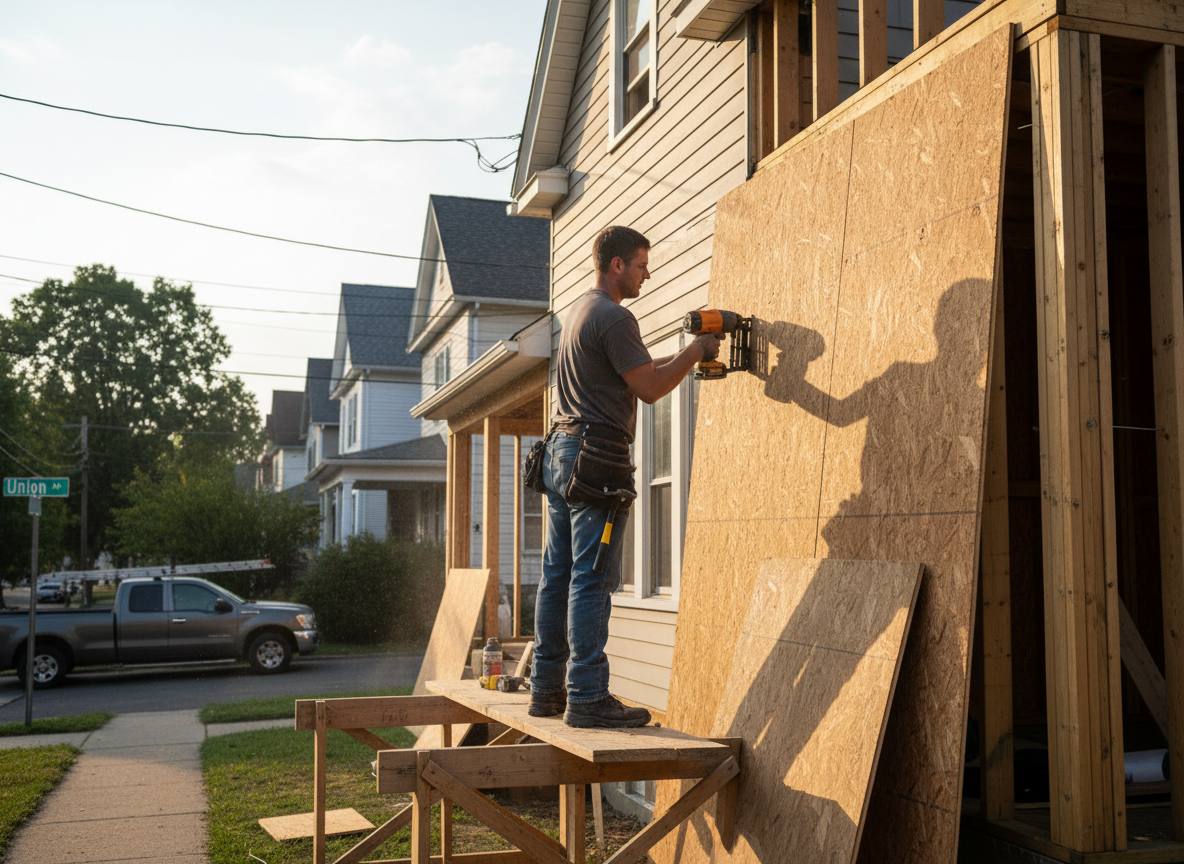
T1-11 siding is a grooved plywood panel that requires careful sealing at every joint because Boone County’s humid subtropical climate drives moisture into unsealed edges year-round. In Union and Ryle neighborhoods, many homes built from the 1970s onward used this material on gable ends and rear elevations that face prevailing winds. When panels absorb water, the grooves telegraph and the surface delaminates within two to three seasons. Proper prep includes removing failed caulk, sanding raised edges, and applying a high-quality exterior primer before new paint. Skipping the primer step is the most common shortcut that leads to callbacks the following spring.
Installation on existing homes in Florence and Burlington often reveals hidden issues behind the siding such as deteriorated housewrap or missing flashing at window heads. Union’s rolling terrain means many lots slope toward the foundation, so water runs along the bottom course of T1-11 and wicks upward if the skirt board is not replaced at the same time. We always pull the bottom row to inspect the rim board and add new flashing before reinstalling. This extra step prevents the rot that shows up two years later when homeowners notice soft spots near grade.
Code enforcement in Boone County now requires a 6-inch clearance between T1-11 and finished grade on new work. Older homes in the area frequently violate this because original construction sat closer to the soil. During replacement we raise the siding or install a concrete skirt to meet current standards while maintaining the original appearance. Using the correct 8d galvanized nails at 6 inches on center along panel edges keeps the material from cupping when temperatures swing between mild winter days and humid summer nights.
Technician insight
In Union, the thing that catches most people out with T1-11 siding is how fast the bottom course rots when the lot slopes toward the house like many properties near Union Community Park. Homeowners paint over the problem every few years until the plywood starts crumbling at the skirt board. We always pull that bottom row first and add new flashing plus a concrete skirt so the new panels stay dry through the humid summers and mild winters.
Ryle Home Gable Repair
Homeowner in Ryle noticed bubbling paint on the west gable after a wet spring. We found water trapped behind two T1-11 sheets where flashing had failed at the roof intersection. Removed the affected panels, replaced damaged sheathing, installed new step flashing, and hung matching T1-11. The gable now sheds water properly and matches the rest of the house.
How it works
- 1
Site Assessment
Walk the full perimeter noting sun exposure, drainage patterns, and any soft spots in existing T1-11 panels around Union homes.
- 2
Panel Removal and Prep
Remove damaged sections, inspect sheathing and housewrap, then sand and prime all new edges before installation.
- 3
New Panel Installation
Hang fresh T1-11 with proper nailing schedule, install new flashing at windows and doors, and seal all vertical and horizontal joints.
- 4
Finish and Cleanup
Apply two coats of exterior paint, verify 6-inch ground clearance, and remove all debris from the property.
Pricing
Upfront written quotes after on-site inspection; final price reflects panel count, access difficulty, and any substrate repairs found during removal.